Posts Tagged tutorials
Shredder Tutorial
Hey Everyone, I want to share my painting process for The Shredder. I hope some of you will find this useful. I’ve learned throughout the years, that to get better, you first need to learn from as many artists as possible. Never stop learning and always keep challenging yourself. If there comes a point when you start to get too comfortable with your own art, it’s time to shake things up and learn something new. For every character set I do, I give myself a goal; for my 80’s cartoon villains set, my goal was to tighten up my sloppy art and get better at lighting up my characters. I do believe I accomplished my goal of tightening up my art but I know I can still work on my lighting. For my next goal, I will learn to speed up my art by using larger brushstrokes and hinting at detail, instead of putting in all of the actual detail. OK, here we go!
NOTE: Before you start, you should have an idea of what you will paint; concept, theme, and story if applicable. Always have your reference photos, toy models, clay sculptures ready. You’ll waste time by just jumping in.
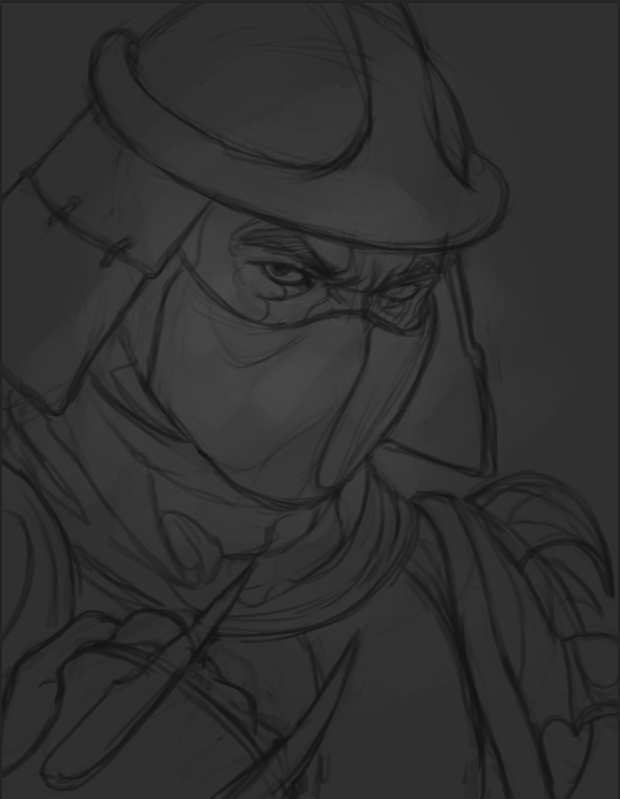
Step 1: I always start with a black and white sketch. This is the final sketch before I start painting. I use mostly dark grays. Then I slowly build dark and light values with soft brush.
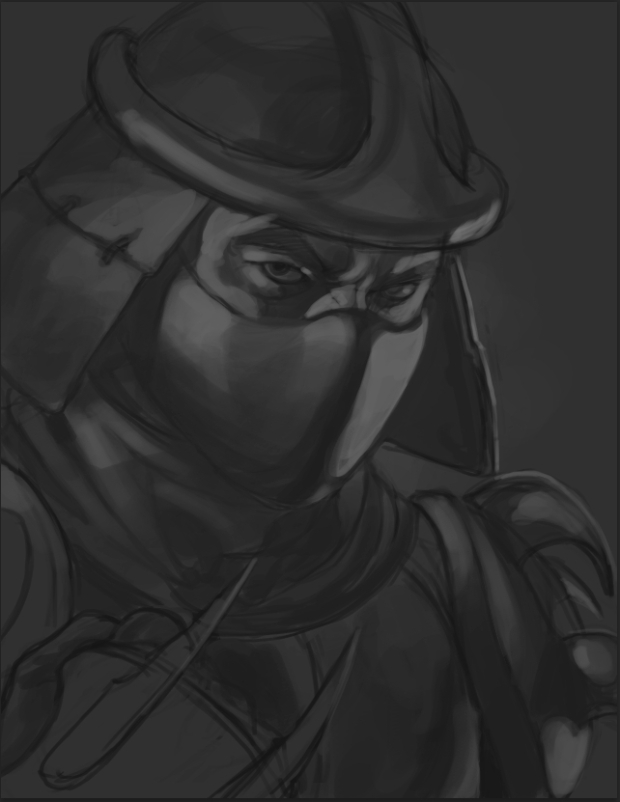
Step 2: This is as far as I go before I add color and the rest of the details. I use photo reference to get the lighting how I want it. I use a combination of toy models and a photo of a Japanese actor.
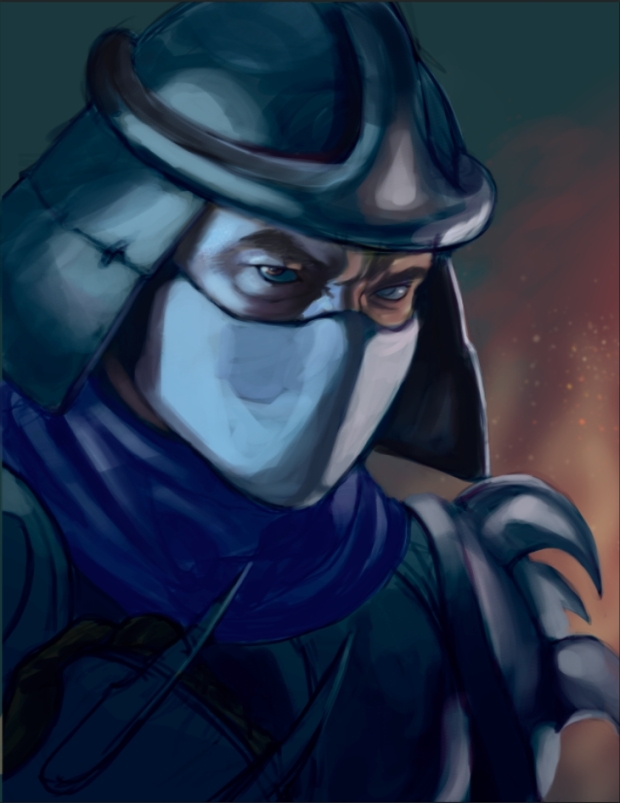
Step 3: I add color by using color balance adjustment layer. I play with the mid-tones, shadows and highlights until I get a color scheme that I like. I chose a complimentary color scheme.
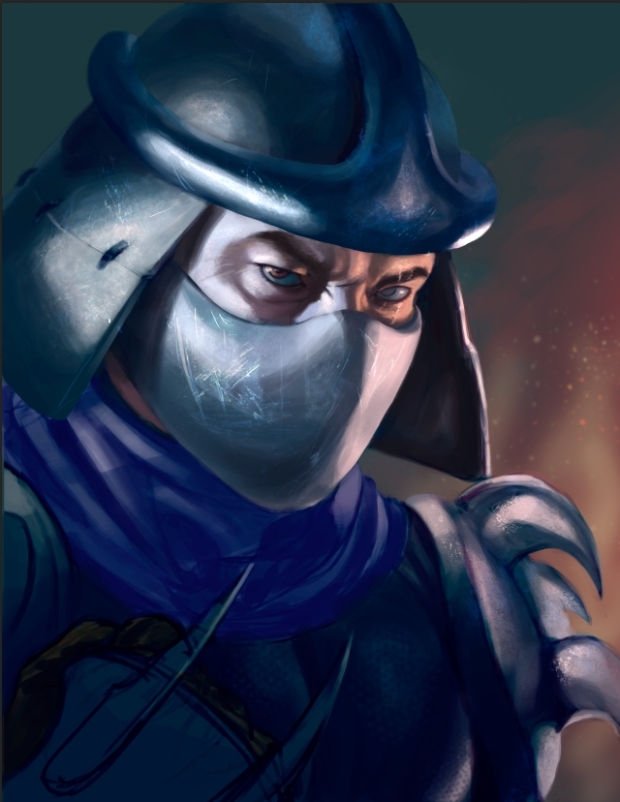
Step 4: Details! Here’s the fun part. I use the lasso tool to make those sharp edges on his mask, helmet and eyes. On a separate layer and start laying down scratches on the mask and helmet. I also add wrinkles and pores to shredders skin. I normally use an overlay or soft light layer for that. For the scratches I use a custom brush that is actually meant to be used for animal hair. To get a textured look on the highlight spots, use a textured brush on the dodge tool. For the pores on his skin, I used a photo of Nathan’s face from the Uncharted series and pasted it on top of shredder using a soft light layer and dropping the opacity. I don’t always do this but I wasn’t getting the results I wanted from my brushes. Be creative in the way you meet your results. You won’t always achieve your goal with brushwork. Whatever it takes to get your art the way you want it.
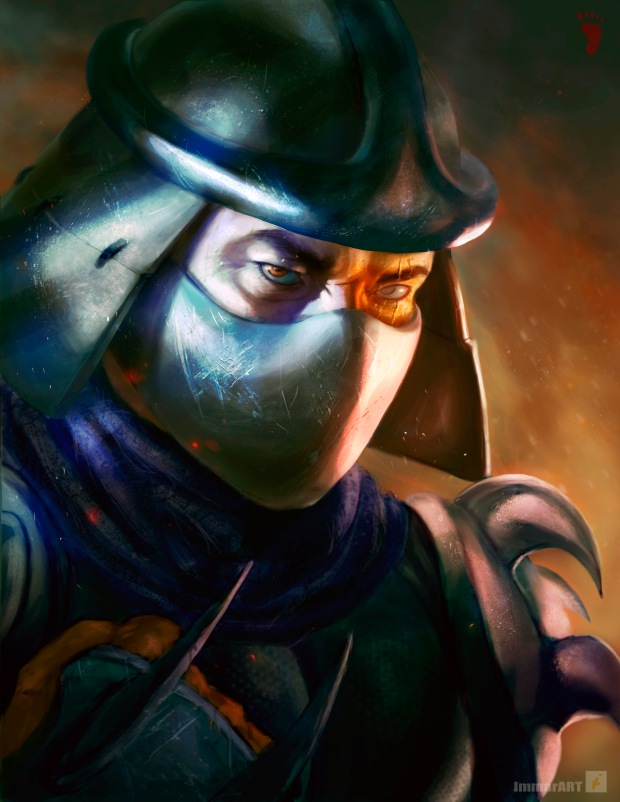
Step 5: More details and glows. I add more scratches and add some floating fire embers along with sweat and cloth textures. I use custom brushes for most of this. I add a color dodge layer and I use a soft round brush to add the blue and orange lights on his face and helmet as well as soft glows on the embers. (Don’t forger about reflections on metal) Now I’m almost done. Now its time to make value adjustments and color adjustments by using the selective color adjustment layer and hue/saturation layer. Then the finishing touches.
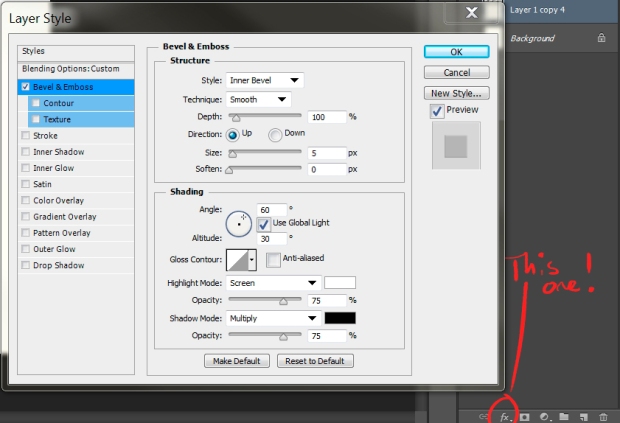
Final tip: How to get that cool armor scratch effect? : Lay down some scratches or bumps then select a Bevel & Emboss fx layer style, play with the depth, size and opacity and change the global light to the direction the light is coming from. Don’t overdo it here and be subtle about your approach or the viewer’s eye will be all over the place.
I hope you guys enjoyed this tutorial. If you have any questions, don’t hesitate to leave me comments. Have a great day everyone!
Don’t forget to buy prints and other goodies from my store.
Buy my art:

